Beginner Sourdough Artisan Bread
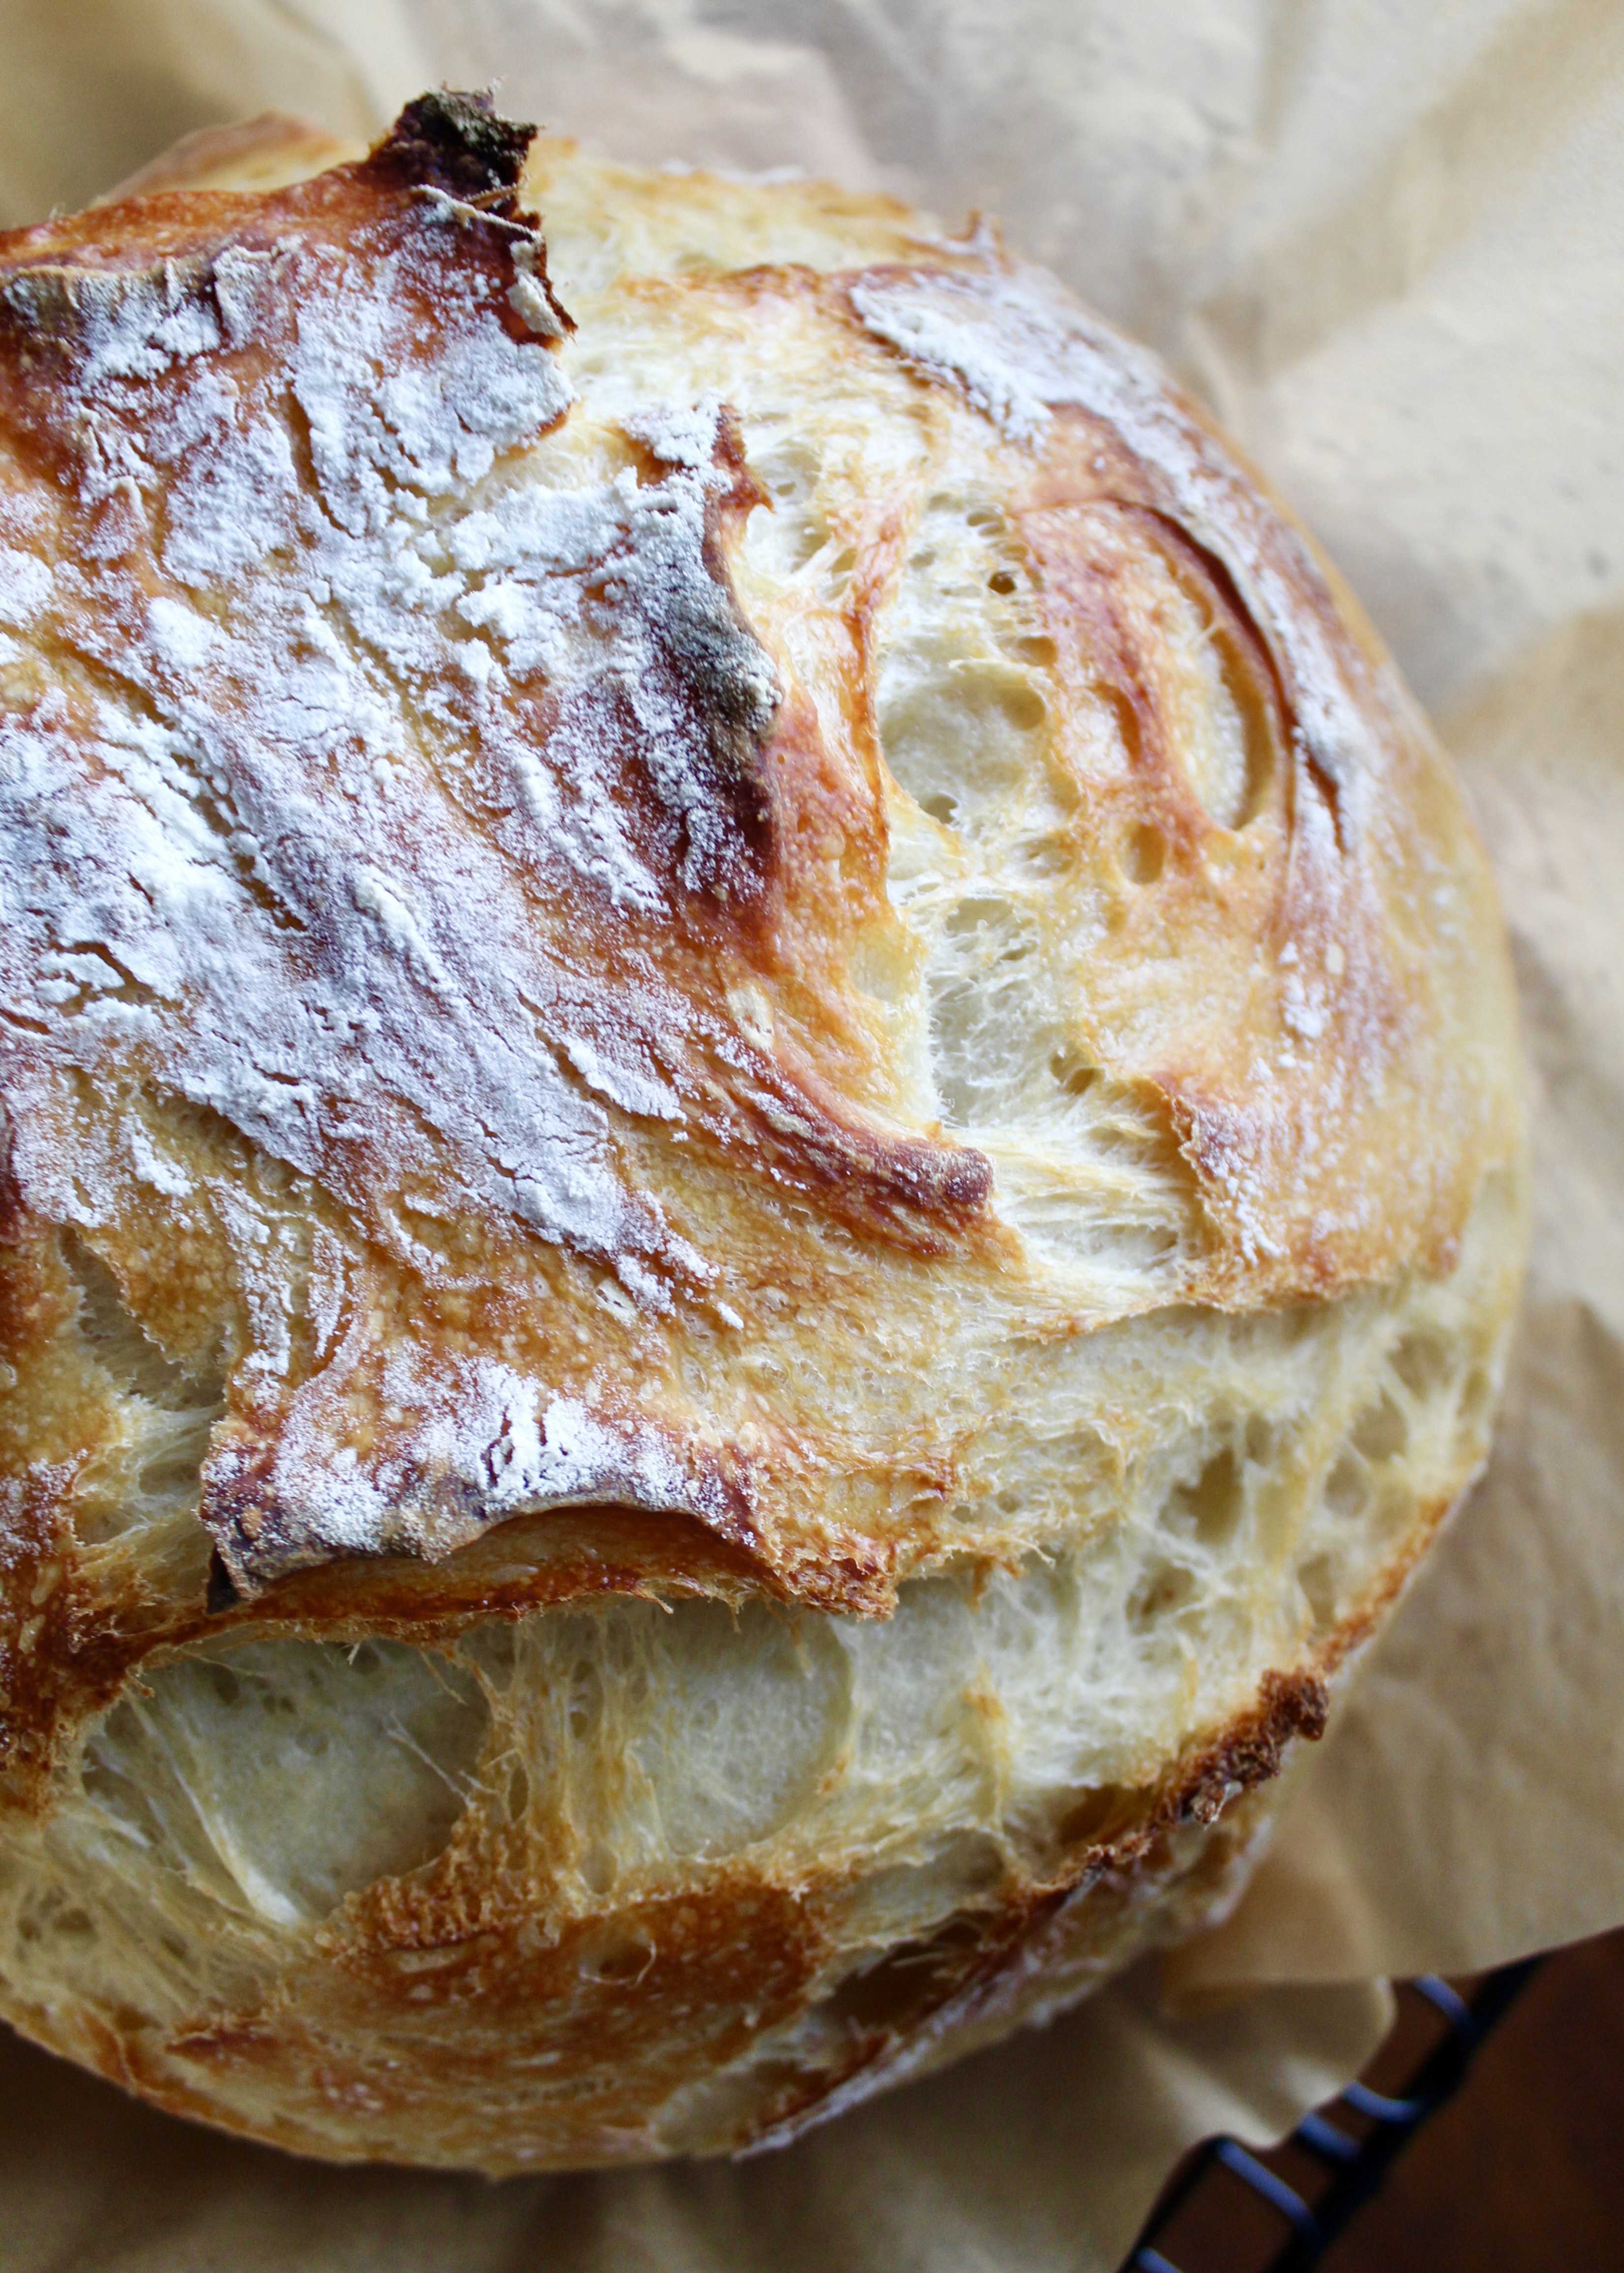


Beginner Sourdough Artisan Bread
Makes 1 loaf
Time: About 10-12 hours, mostly rise time
4 cups white flour, spooned and leveled
2 tsp. Kosher salt
1 3/4 cup water
1/3 cup sourdough starter, fed 8-12 hours earlier
1. Add flour to a large mixing bowl and whisk in salt.
2. Mix sourdough starter and water in a small bowl until cloudy and smooth. Pour the starter water into flour, incorporating all the flour using a fork or wood spoon. (It should be a thick, shaggy, dough.) Mix for about 1-2 minutes using the wood spoon. (It will be hard to mix. Don’t worry about a smooth dough, just get all the flour mixed in.) Cover with a wet kitchen towel and let rest 15 minutes.
3. Place a small bowl of water next to you and with one wet hand, pull the dough from one side and stretch it upward, folding it up and over to the center of the dough. Quarter turn the bowl and repeat, stretching up and folding it over the middle. Repeat for about 30 seconds or until the dough gets firm and resists. This helps strengthen the gluten.
4. Cover, rest, and repeat the process 15 minutes later. With wet fingers, stretch up and fold over, turning and repeating, for 30 seconds until the dough gets firm and resists. Then turn the dough over in the bowl.
5. Cover the bowl with a damp kitchen towel and plastic wrap to keep the moisture in and place it on your kitchen counter at room temperature for 8-12 hours.
After Rise Time:
6. The dough should have expanded, with a slight springy dome on top. Line a high-sided bowl with parchment. Set aside.
7. Loosen the dough from the all edges of a bowl using wet fingers slide down the sides of the bowl. With both wet hands, carefully pull the dough straight up in the middle and place it back down, gently folding it on top of itself. After the first stretch, give the bowl a quarter turn, wait 30-60 seconds, wet your hands again and stretch it up again, folding over itself in the bowl. Wait 30-60 seconds. Then, the third time you lift and stretch, lift it all the way into your parchment-lined bowl, folding over itself like you’ve been doing. Sprinkle the top and sides with flour, gently rubbing it until it has an even coat.
8. Place your dutch oven with the lid on inside the oven. Preheat the oven for 1 full hour to 450 degrees F. While dutch oven is preheating, place the bowl of dough in the refrigerator for one hour uncovered. (You could also keep it in the fridge for 3-4 hours if you want to bake later.)
9. When ready to bake, place dough by the stove. Carefully, pull out the hot dutch oven onto your stove and remove the lid. Score the dough in the bowl, using a very sharp knife, lame, or scissors dipped in cold water. Score the dough swiftly and deeply, at a 1-inch 45-degree angle. One or two deep slashes is fine.
10. Carefully lift the parchment up by the corners and place both dough and parchment directly into the dutch oven. Cover quickly with the lid. It’s fine if some parchment paper peaks out. (Alternately, if using a proofing basket, cover the basket with parchment, carefully flip the dough into the parchment in the palm of your hand, center the parchment and dough in your dutch oven, then score.)
11. Place dutch oven in the middle of the 450 degree F oven for 25 minutes. Remove lid. It should be puffed up and just lightly golden. Leave lid off and bake 10-15 minutes until deeply golden and internal temperature reaches 204-208 degrees F.
12. Remove bread from dutch oven and place on a cooling rack. Let cool for 1 hour before slicing to not let the steam out. Serve warm or toasted with lots of butter!
Adapted from Feasting at Home


Comments
Post a Comment